Using FrontPage to Publish to a Server
All screen shots are using FrontPage 2003. If you are using a different version, your screen may look different.
Step 1 - Open your site in FrontPage.
Step 2 - Make sure and check your settings before you try to publish/upload your site.
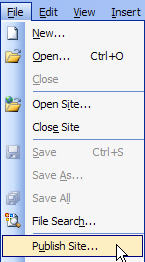
Step 3 - Choose File | Publish Site
Step 4 - In the dialogue window that pops up, choose the "Remote Web Site" tab. Tick the button beside "FTP" and then enter the correct information in the following fields: "Remote Web Site Location" text box, type ftp://ftp.example.com, replacing example.com with your own domain name.
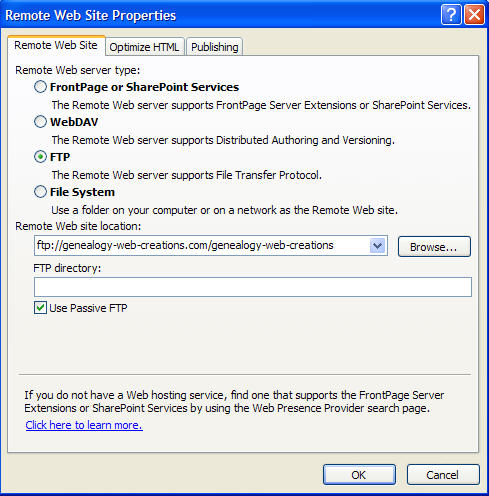
Then click on the "Publishing" tab at the top and check Publish | Changed Pages Only - Changes | Determine changes by comparing source and destination - Logging | Log changes during publish (gives you a log entry to review if you have problems uploading)

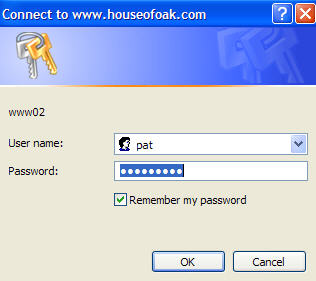
Step 5 - When you click "OK", you will get a window to input your ID and password. Be sure to type them EXACTLY as they were given to you - including capitalization.
Step 6 - You will see your website (on your computer) in the left window. The server space file you're publishing to is shown in the right window.
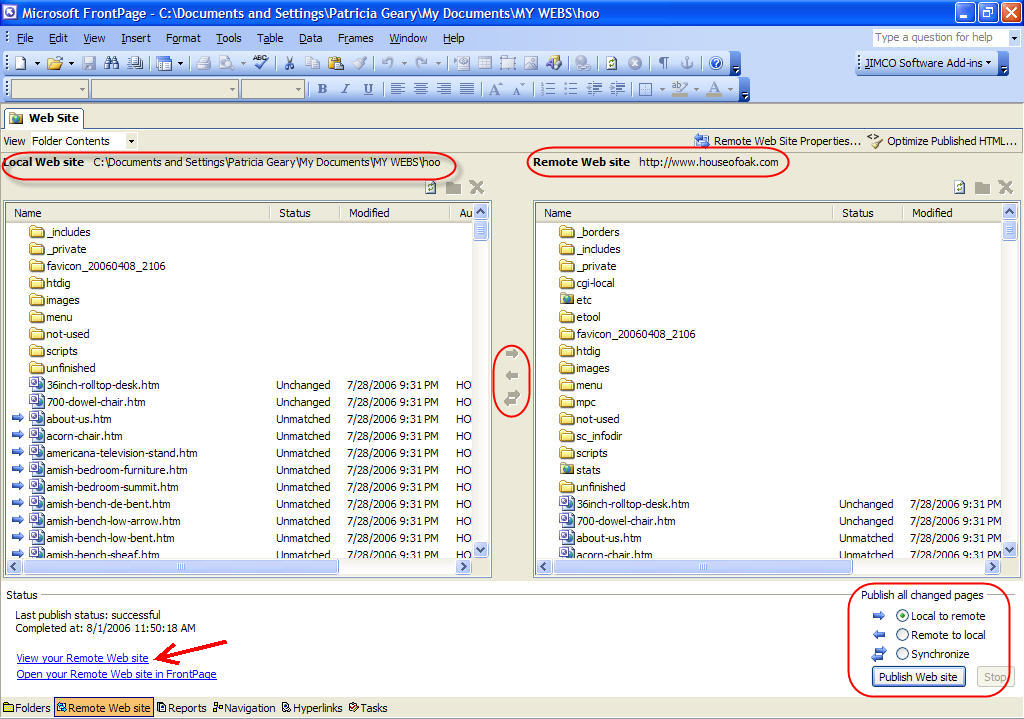
Local to Remote should be checked then Click the Publish Website Button. This is the one I use most often as it compares all files and uploads those that have changed. If you have deleted files from you site on your hard drive, a box will pop up to ask if you want to remove them from the remote site.
- You could also choose only one or two of the files and click on of the arrow keys to transfer just those files Local to Remote.
- If the site on your hard drive became damaged or was inadvertently deleted, you could create a new web on the hard drive and use this same process to reverse publish your site on the server to your hard drive. Check Remote to Local | Click Publish Website Button
- Synchronize compares the site on your hard drive and the one on the remote server and moves the data back and forth until they match.
If you have problems, make sure and check your username and password as they are case sensitive and the url you have inserted into the location.
Resources:
Planning a Genealogy Website 2nd Edition is available as a 42 page EBook in pdf format for you to download. It has been totally revised and updated with new content. The EBook is zipped for faster download. Save it to your desktop, extract the file and it is ready to use.


April 2007 - April 2013

Disclosure: This is an affiliate link, which means that if you visit Bluehost.com through this link and purchase this product, I’ll get a commission.